Printing With Your Cocoa Press
Once you've gone through the quickstart and verified your printer is running well, and you've loaded chocolate, you're ready to begin printing with your Cocoa Press!
Info
The Cocoa Press' SD card came preloaded with sample GCode for both the 1.6mm and 0.8mm nozzle. In the event the SD card is lost, or the contents aren't usable, those can be downloaded here.
Prerequisites
- Your Cocoa Press should have the preheating timer run out, meaning that it's had time to warm up the core for printing.
- You should have probed the mesh bed leveling of your printer, as well as set the Z offset per this guide here.
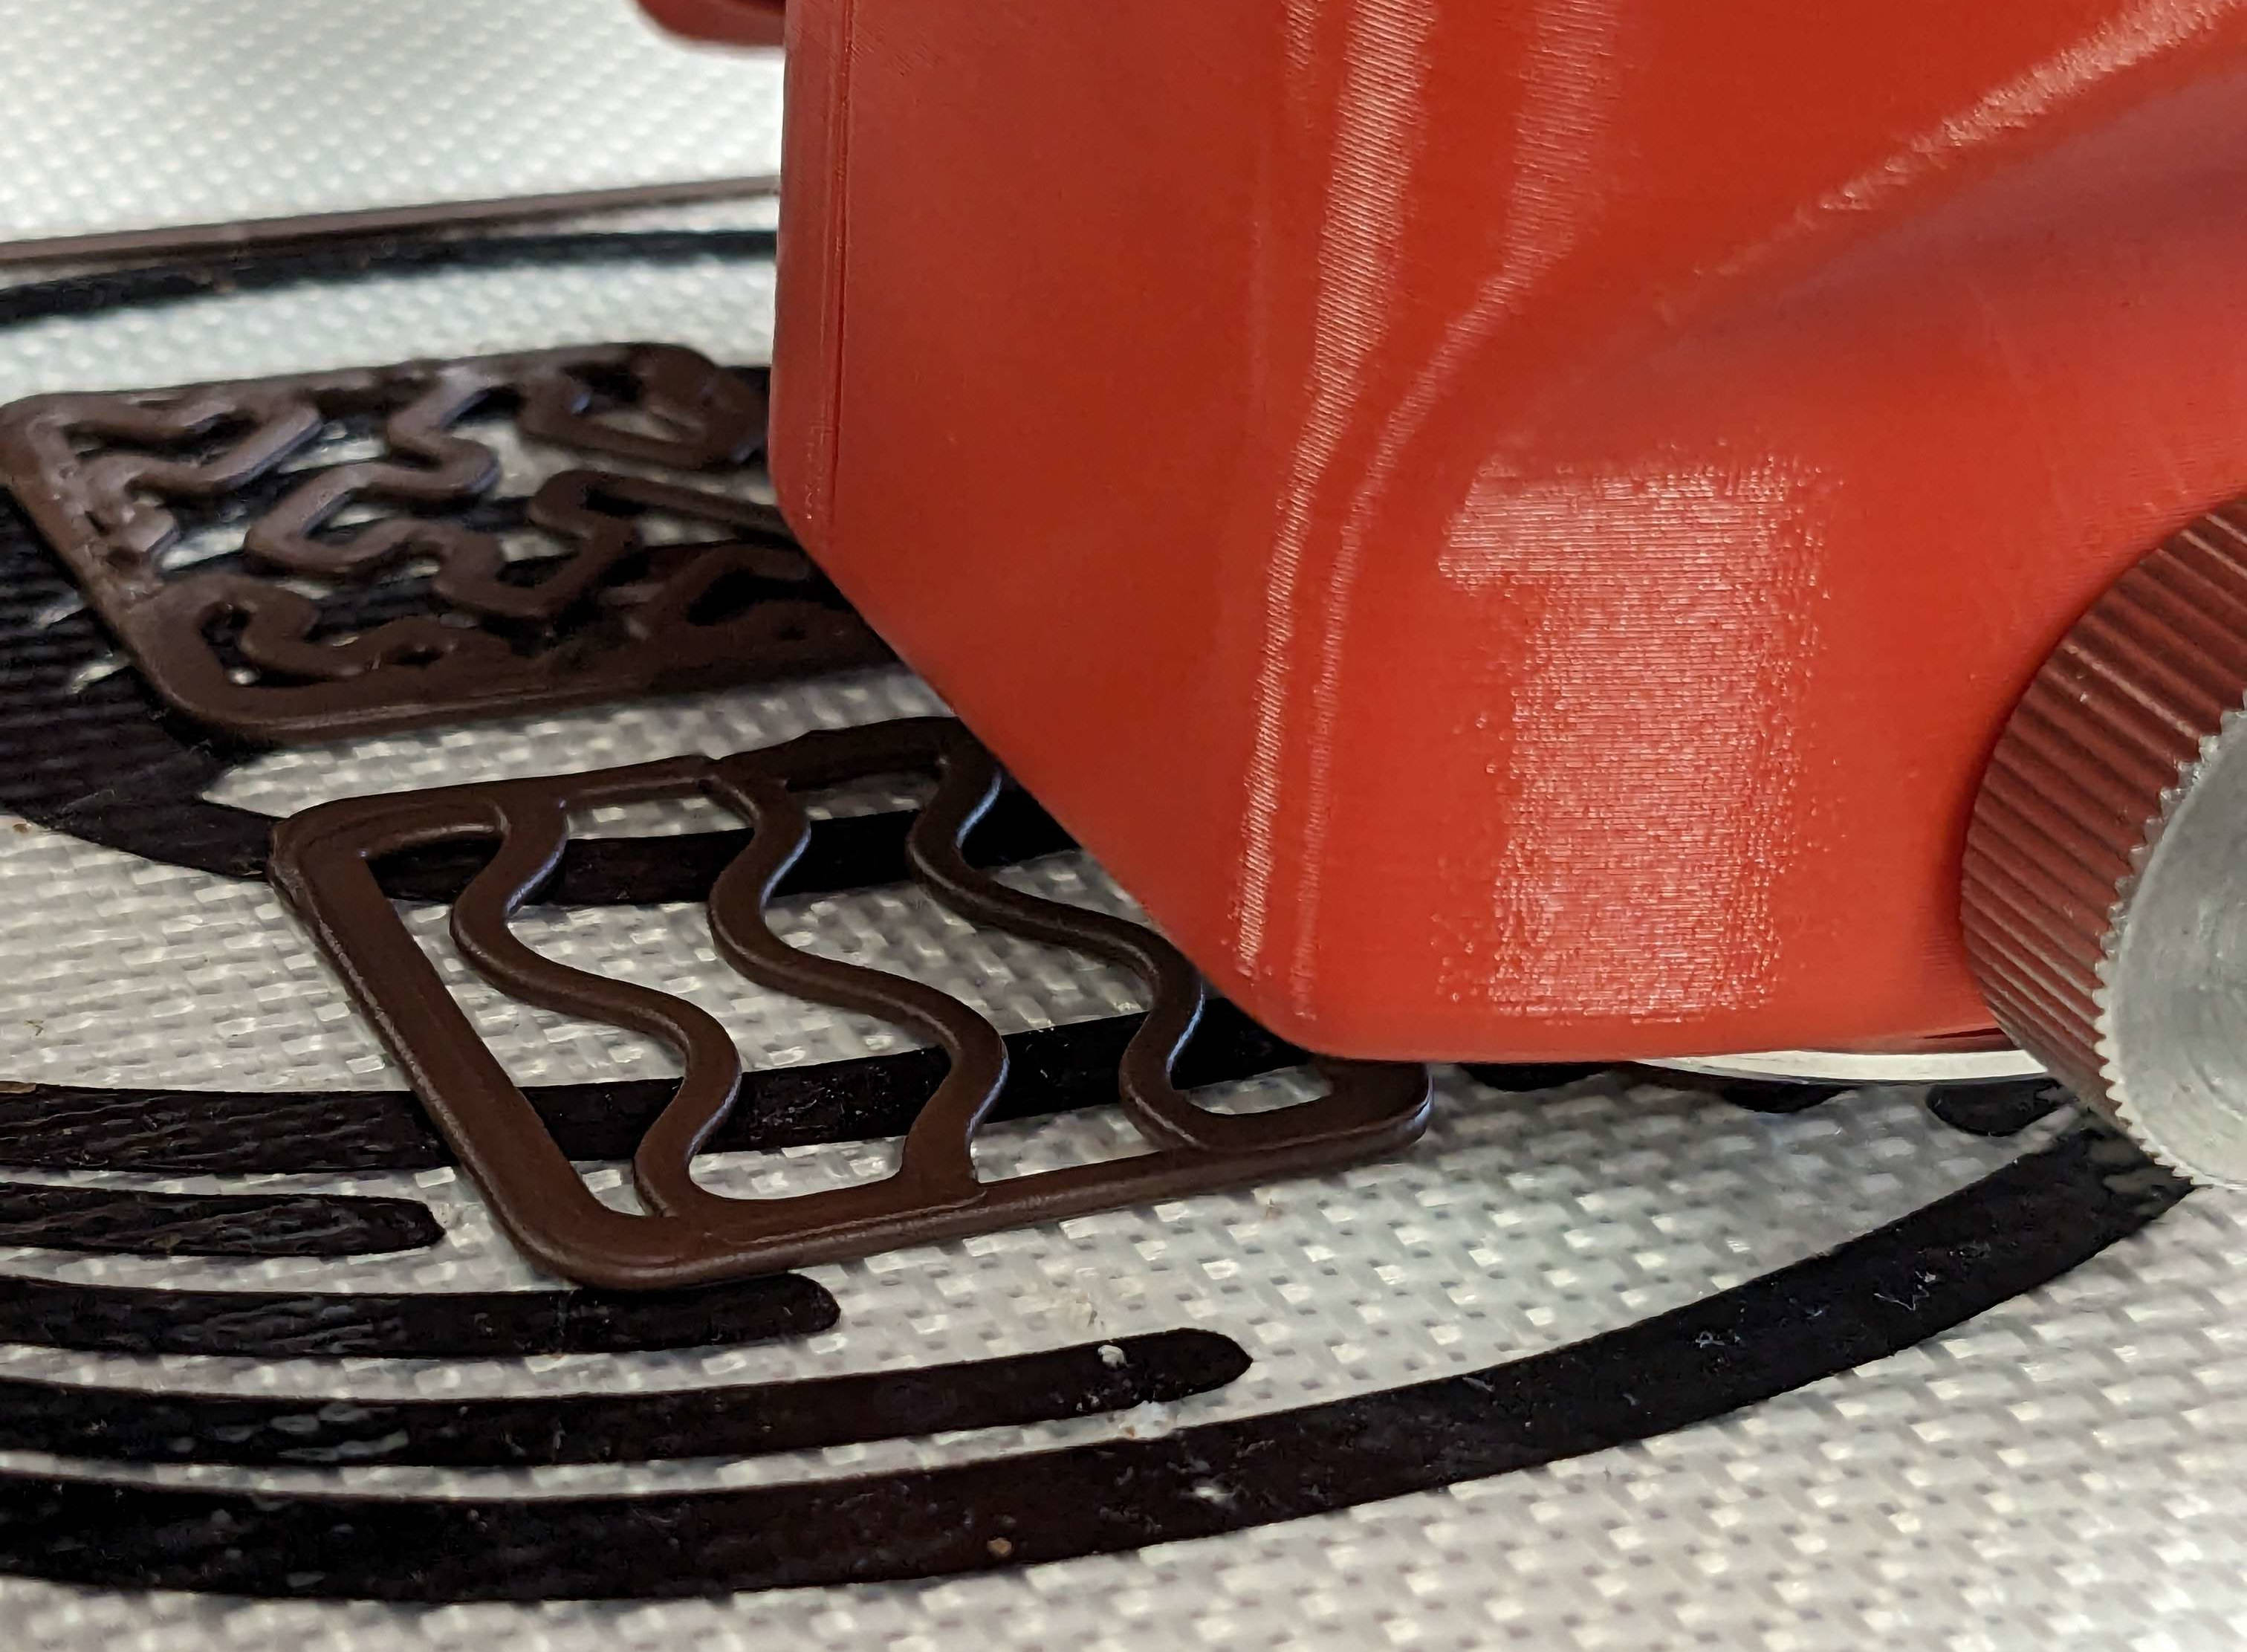
- If any debris is on the nozzle from prior prints, wipe off with a paper towel. The debris on the extruder may sag and cause marks in the current print.
- If the printer has sat preheated for a while, you may also want to press and hold the 'Extrude' button to "prime" the extruder.
Info
If the nozzle is regularly coated with debris, it's likely your first-layer height is off. Please follow the steps as shown in "Setting Your Z Offset".
Steps
- Load your GCode onto your Cocoa Press by copying the GCode file the slicer made to an SD card, or use one of the pre-made GCode files that came with the printer.
- Select the "Media" menu.
- Select your GCode file with the media button.
- When asked if you want to start that file, press "yes" to begin the print.
- The printer will begin the print by probing homing the X and Y axes, and then the Z height.
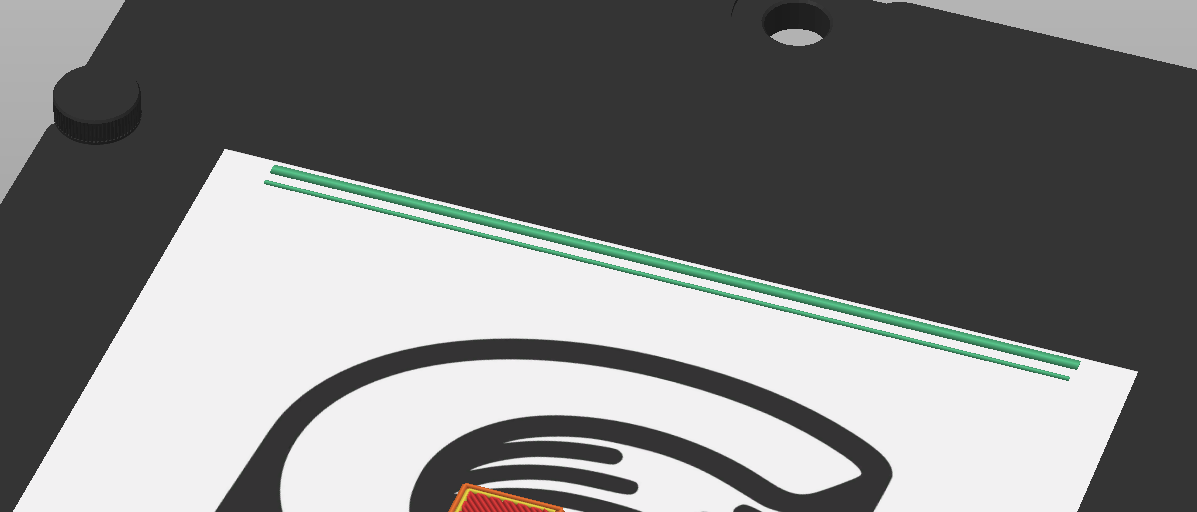
- Afterwards, the printer will begin a purge line, to prime the extruder and remove some printed debris on the printer's nozzle. Depending on the profile this may vary in success rate.
- Supervise the first layer to ensure good bed adhesion. Your first layer should be in contact with the silicone baking sheet, but not tearing into it.
Printing In Operation
Provided the first layer successfully completed, all you'll need to do is let the printer continue the print until done. When done, the printer will play a jingle to let the user know when the print is successfully done.