In-Depth PrusaSlicer Use
Model Overrides
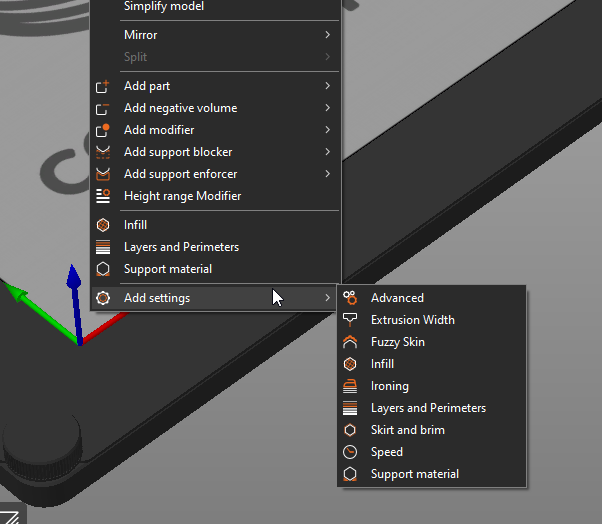
PrusaSlicer allows you to override specific properties of a model loaded into a slicer, such as infill, speed, temperature, and more. You can change this from the 3D View by right clicking on the part and selecting "Add Settings" at the bottom of the right-click menu.
Text on Surfaces
PrusaSlicer allows you to add text onto a surface of any model by selecting the model in the 3D View and pressing T on your keyboard, or by right-clicking on the model and selecting the "Add Part" -> "Text" menu item.
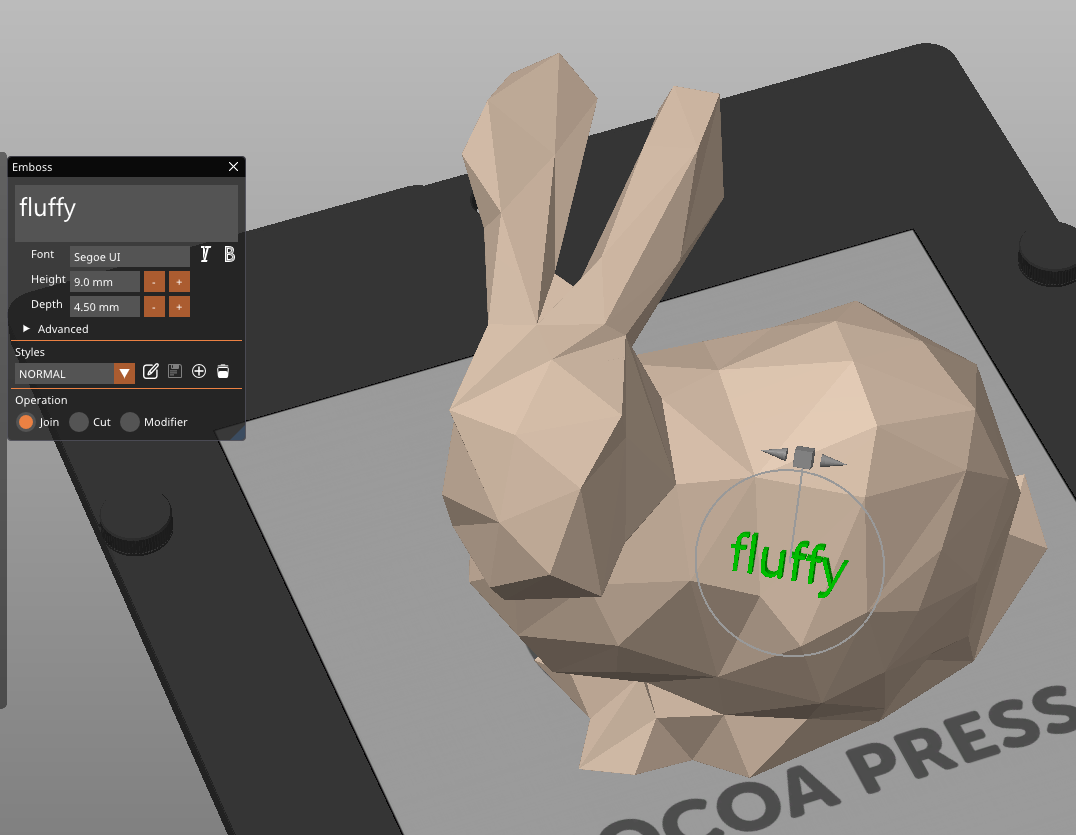
You can use any and all TrueType fonts you have installed on your computer, and can adjust placement with some careful selection.
For more information, look at the Text tool section in the PrusaSlicer documentation.
Note
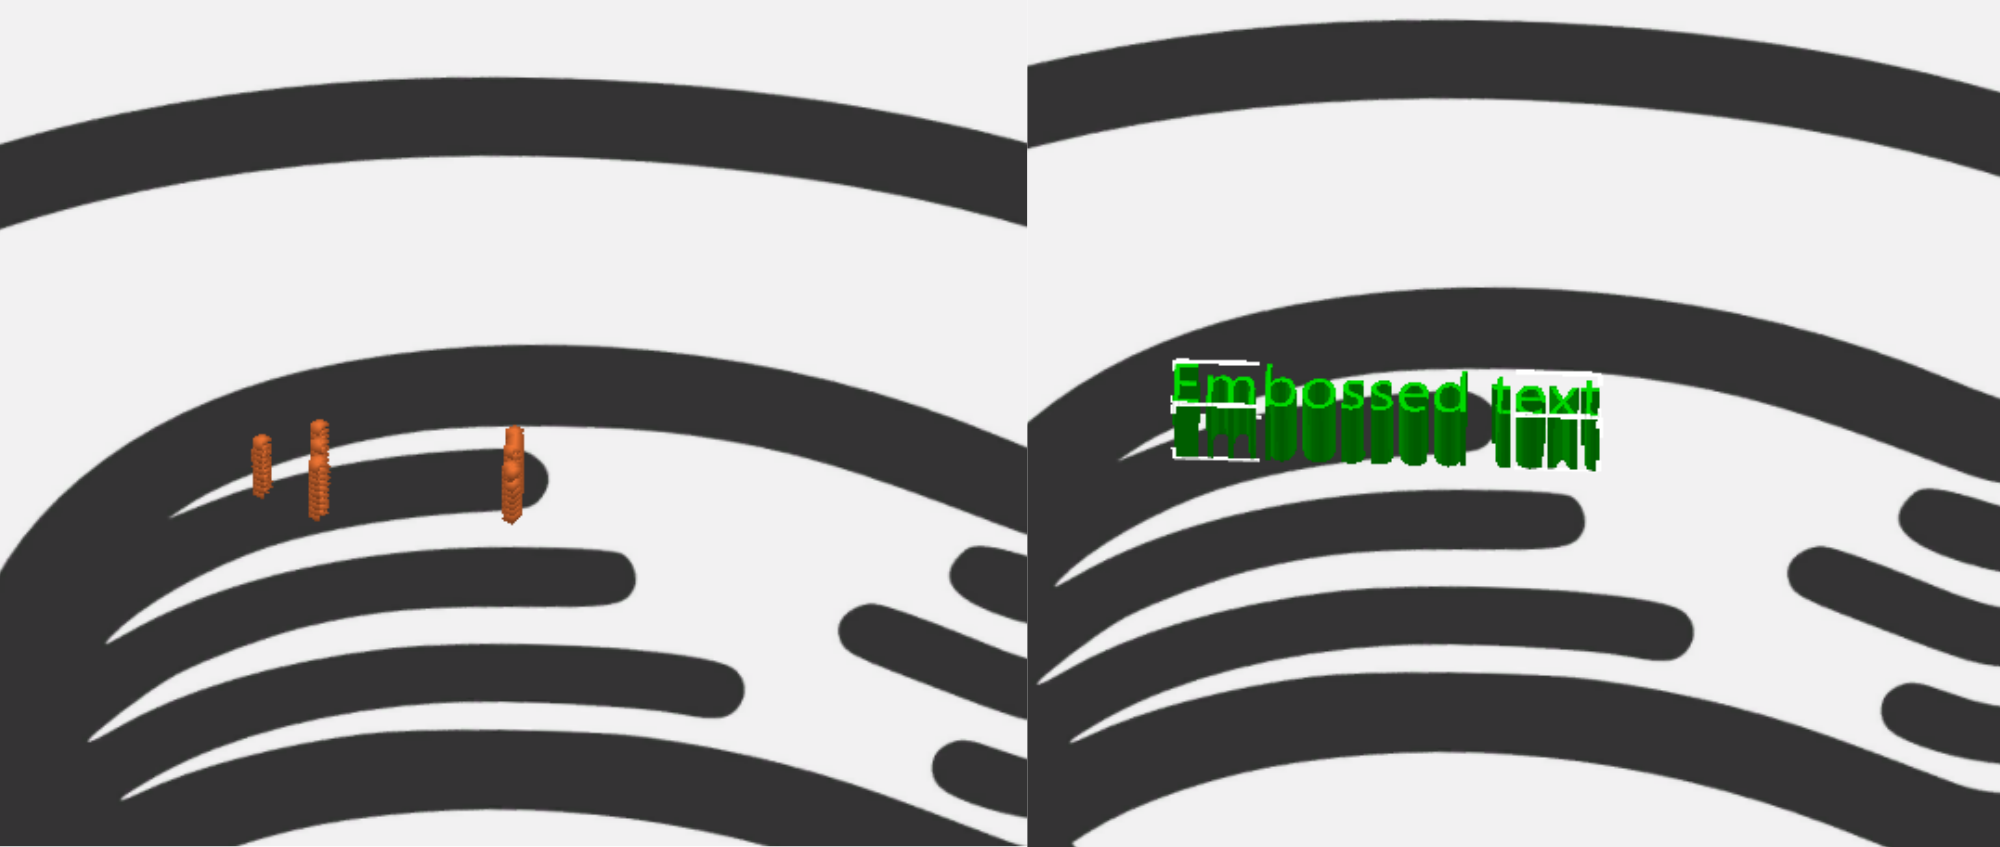
Do be aware that the slicer will not render text below the resolution of a single linewidth in many cases. As such, you'll need to make your text large enough to be extruded.
Vase Mode
Vase mode allows you to print certain models as a continuous line circled up and up, allowing for large, thin prints.
To enable, go to Print Settings in PrusaSlicer, Layers and Perimeters, Vertical Shells, and select "Spiral Vase".
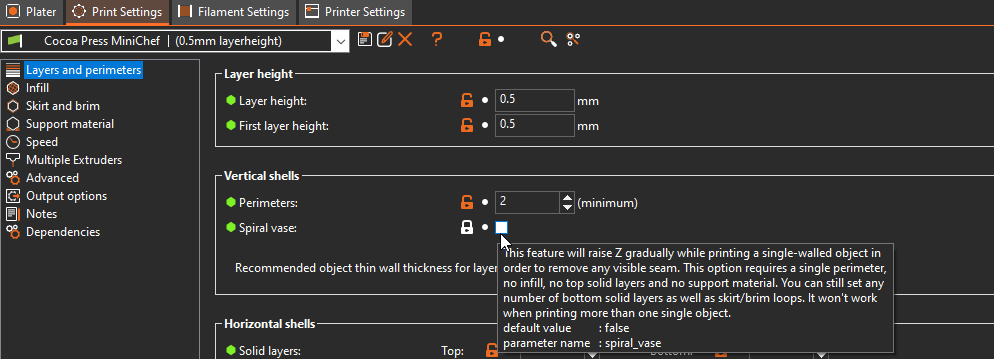
Info
The slicer will have to change multiple settings to make this type of print actually manufacturable. It's important that you check the geometry is able to be printed and doesn't produce any warnings or error messages before printing. Many vase mode prints will be labeled as such. for more information, see Model Selection.
Sequential Printing
When making larger batches of prints, you may be able to print sequentially, where one object in the slicer is printed, then the next, and so on. This is only possible if the extruder doesn't collide with your models.
To check, check the PrusaSlicer Print Settings -> Output Options -> Complete individual objects.
If there's a red radius around the objects, they're too close to print sequentially, as the extruder will collide with the part when going to print the second part.

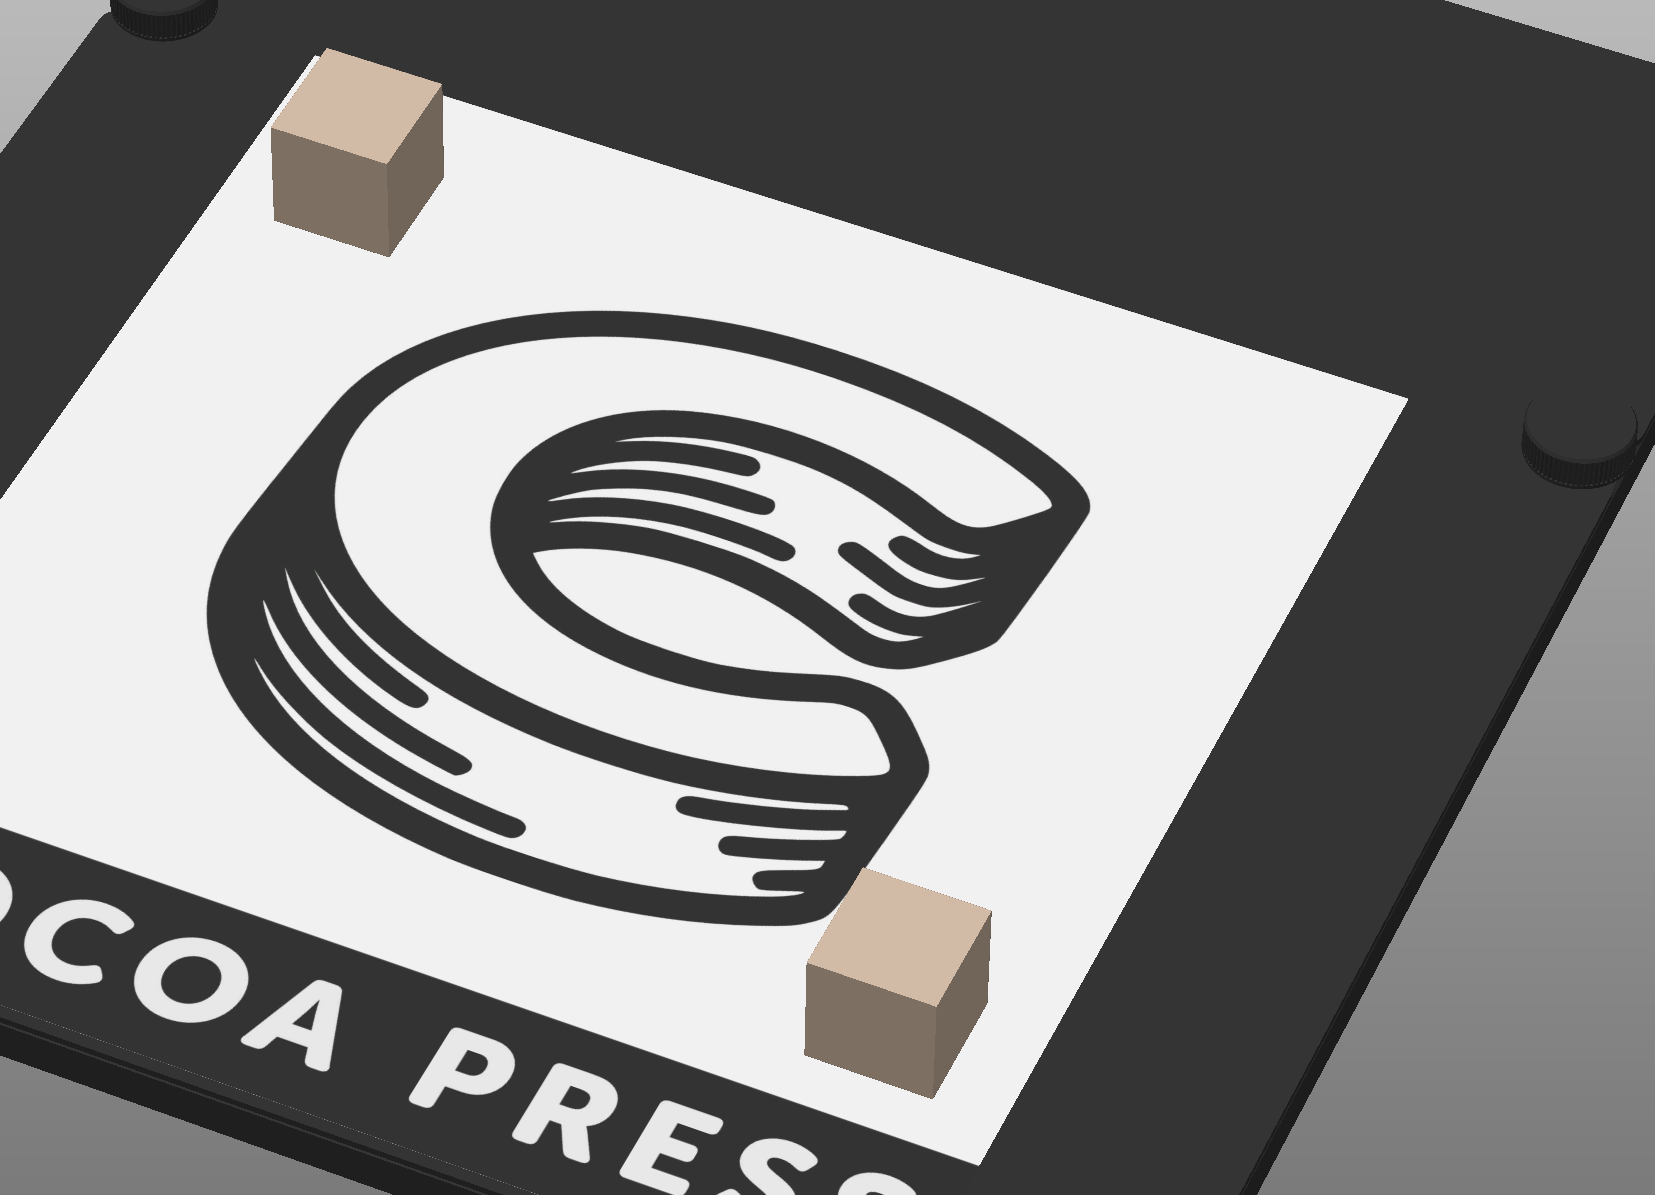
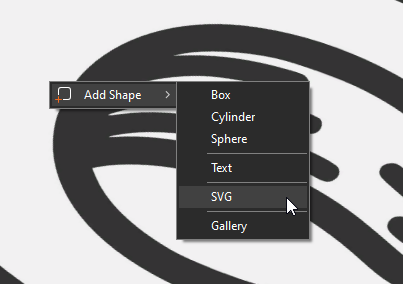
Inserting Vectors
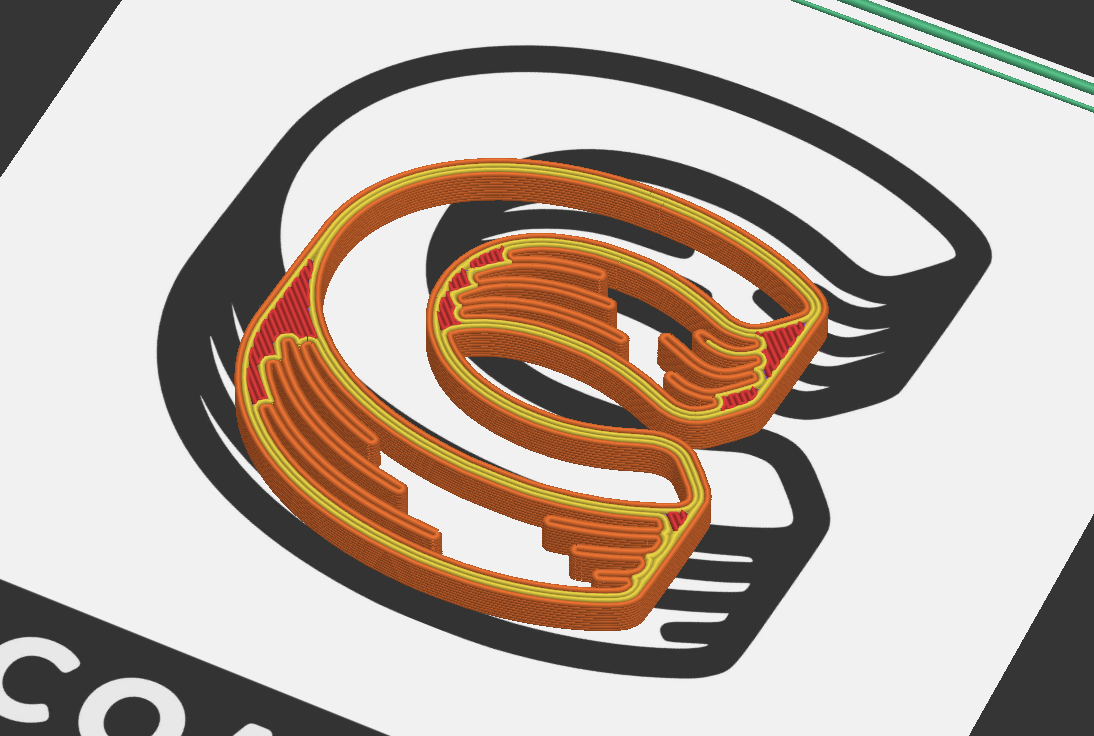
As of Version 2.7.0, PrusaSlicer allows a user to directly insert a vector drawing in SVG format as a modifier. This allows you to emboss logos, text, or other graphics into your models, or as their own models without additional tooling.
If used as a sub-part, you can produce (for example) custom chocolate bar designs more easily.

Overriding Profile Settings
If working with different materials, or in an environment that tends to be colder or hotter than ours, you may need to subtly adjust your temperatures to improve the settings and behavior of your Cocoa Press.
First, change the settings you'd like to adjust, then in the top left of the settings menu, click the "Save Preset" button. This will allow you to change the names of the profile for future use and to easily distinguish it from the stock profiles.

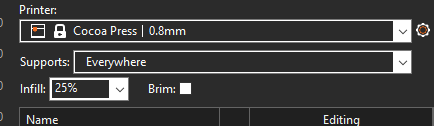
Supports
To turn on supports for your print, use the "Supports" option in the main window to "Everywhere" to force supports on for your model, or for "Support Enforcers Only" to use the Support Painting feature.